meiosis-router Documentation
Examples
The code repository for meiosis-router includes examples for both Hash Mode and History Mode.
To try out these examples, first clone the repository and set up the projects by using the commands below:
git clone https://github.com/foxdonut/meiosis
cd meiosis/helpers/router/examples
cd hash-mode
npm ci
cd ../history-mode
npm ci
cd ..
Then you can experiment with the Hash Mode and History Mode examples.
For the Hash Mode example:
cd hash-mode
For the History Mode example:
cd history-mode
In both cases, to start the example, use:
npm start
You can then access the example in your browser with this URL: http://localhost:9000.
If you would like to experiment with the code, you can auto-load your changes. Open a separate
terminal window, use cd to navigate to the example's directory (hash-mode or history-mode),
and run the following command:
npm run watch
This will recompile the project when you save your changes. Reload the page in your browser to see the results of your changes.
Hash Mode
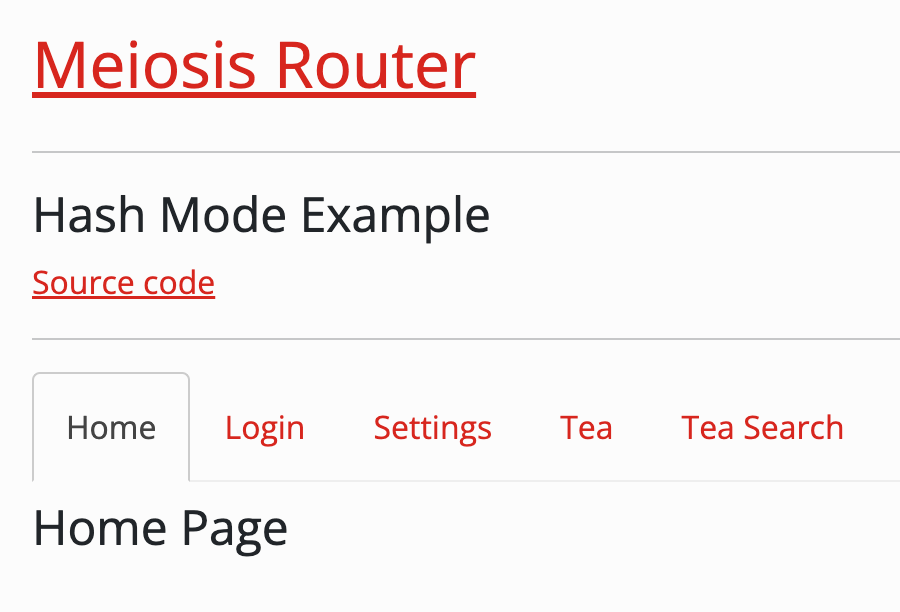
The Hash Mode example.
This example uses meiosis-router in Hash Mode and demonstrates the following:
- Displaying different pages according to the route
- Clearing out data when leaving a page
- Asking the user to confirm before leaving a page has unsaved data
- Forbidding access to a page if the user is not logged in
- Loading data needed for a page
- Filtering data using query parameters.
We will look at each item in detail.
Displaying different pages according to the route
As explained in the previous section, displaying pages according to the route is done with simple component map:
import { Home } from '../home';
import { Login } from '../login';
// ...

const componentMap = {
  Home,
  Login,
  // ...
};
const Component = componentMap[cell.state.route.value];
<Component cell={cell} />
Clearing out data when leaving a page
The example includes a login form for the user to fill in. If the user starts filling in the form and then leaves the page, we want to clear out the form. We can do that using a service, and the current route:
export const service = {
  onchange: (state) => state.route.value,
  run: (cell) => {
    if (cell.state.route.value !== Page.Login) {
      cell.update({
        login: {
          username: '',
          password: '',
          message: '',
          returnTo: undefined
        }
      });
    }
  }
};
Asking the user to confirm before leaving a page has unsaved data
Suppose that before clearing out the login form when the user leaves the page, we want to confirm first by warning them that their data is unsaved. We can augment our service and look at the form to see if there is any data. If there is, we can ask for confirmation. If the user decides not to leave the page, we programmatically change the route back to the login page.
export const service = {
  onchange: (state) => state.route.value,
  run: (cell) => {
    if (cell.state.route.value !== Page.Login) {
      if (
        (cell.state.login.username || cell.state.login.password) &&
        (!cell.state.user && !confirm('You have unsaved data. Continue?'))) {
        cell.update({ route: () => router.toRoute(Page.Login) });
      } else {
        cell.update({
          login: {
            username: '',
            password: '',
            message: '',
            returnTo: undefined
          }
        });
      }
    }
  }
};
Forbidding access to a page if the user is not logged in
In the example, there is a Settings page that is only allowed access to users who are logged in. Of course, in a real-world application, that page would not be shown at all when the user is not logged in. Even in that case, however, it would be possible for a user to manually type in the URL that leads to the Settings page. Thus, we need to verify that the user is logged in before displaying the Settings page.
To accomplish this, we use a service that changes the route to the Login page. We pass true as the
third argument to router.toRoute in order to replace the route in the browser history, instead
of appending. That way, the URL to the Settings page will be replaced by that of the Login page in
the browser history.
As a bonus, we add a message to the login application state so that it can be displayed on the Login page.
export const service = {
  onchange: (state) => state.route.value,
  run: (cell) => {
    if (cell.state.route.value === Page.Settings && !cell.state.user) {
      cell.update({
        route: router.toRoute(Page.Login, {}, true),
        login: {
          message: 'Please login.',
          returnTo: router.toRoute(Page.Settings)
        }
      });
    }
  }
};
Loading data needed for a page
To load data needed for a page, we can use a service that loads the data upon arrival at the page, and clears it when the user leaves the page:
export const service = {
  onchange: (state) => state.route.value,
  run: (cell) => {
    if (
      cell.state.route.value === Page.Tea ||
      cell.state.route.value === Page.TeaDetails
    ) {
      setTimeout(() => {
        cell.update({ teas });
      }, 1000);
    } else {
      cell.update({ teas: undefined });
    }
  }
};
Filtering data using query parameters
The route object contains the value of the route and the route parameters, including path parameters
and query parameters. To filter data using query parameters, we need our service's onchange to
consider both the route value and the parameter(s) that we use for filtering. That way, the service
will run when the route value stays the same but the parameter(s) change.
import { Page } from '../router';
import { searchTeas } from './data';

export const service = {
  onchange: (state) => state.route.value + state.route.params.teaType,
  run: (cell) => {
    if (cell.state.route.value === Page.TeaSearch) {
      cell.update({ searching: true });

      setTimeout(() => {
        const teaType = cell.state.route.params.teaType;
        const filteredTeas = searchTeas.filter(
          (tea) => !teaType || tea.type === teaType);
        cell.update({ searching: false, searchTeas: filteredTeas });
      }, 1000);
    }
  }
};
History Mode
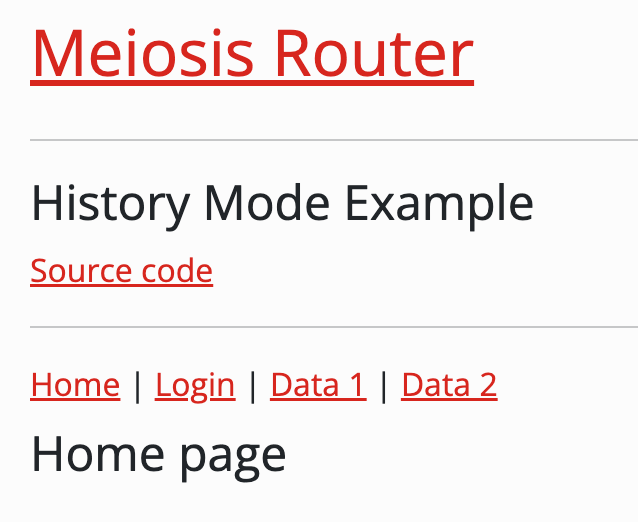
The History Mode example.
This example is the same example as the Nested Components example from meiosis-setup (see the
example at the bottom of the
Nested Components documentation),
except that it uses routing in History Mode for tab navigation.
To use History Mode, you need to provide server-side support to respond to requests with different URLs. This is because although the router handles URL changes without sending a request back to the server, there is always the possibility that the user reloads the page or accesses a URL directly.
The example includes a bare-bones server so that the above works correctly. That part of the example
should not be considered for a real-world application. The server is for demonstration purposes
only, to show the router working in History Mode. It serves the JavaScript and CSS files needed for
the example, and serves index.html for all other URLs.
TypeScript is used for this example, showing how types can be used with the router.
We can use a type to define the valid pages of our application:
export type Page = 'home' | 'login' | 'data1' | 'data2';
Then, when creating the router, we can specify the type of the route configuration as
RouteConfig<Page>:
import { createRouter } from 'meiosis-router';
import { RouteConfig } from 'meiosis-router/types';
import { Page } from './types';

export const routeConfig: RouteConfig<Page> = {
  '/': 'home',
  '/login': 'login',
  '/data1': 'data1',
  '/data2': 'data2'
};

export const router = createRouter({ routeConfig, rootPath: '' });
With that, we'll get a TypeScript error if we try to define a route with an invalid page, such as
'/': 'invalid'.
Notice that we are using History Mode by specifying a rootPath when creating the router. It is
blank in this example since our example runs from the root of the base URL, i.e.
http://localhost:9000.
Next, we can use the Page type for the route in our application state:
export interface State {
  route: Route<Page>;
  // ...
}
Then, we'll get a TypeScript error if we try to use the route state with an invalid page, for example:
export const loginService: Service<State> = {
  onchange: (state) => state.route.value,
  run: (cell) => {
    if (cell.state.route.value === 'invalid') { // TypeScript error here
      // ...
    }
  }
};
Finally, we'll also get a TypeScript error if we specify an invalid page with toUrl:
<a href={router.toUrl('invalid')}>...</a>
I encourage you to experiment with the example, whether it is with TypeScript support and/or with
History Mode which gives you URLs without hashes # in them.